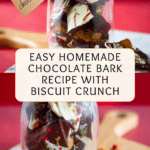
Easy Homemade Chocolate Bark Recipe
Introduction
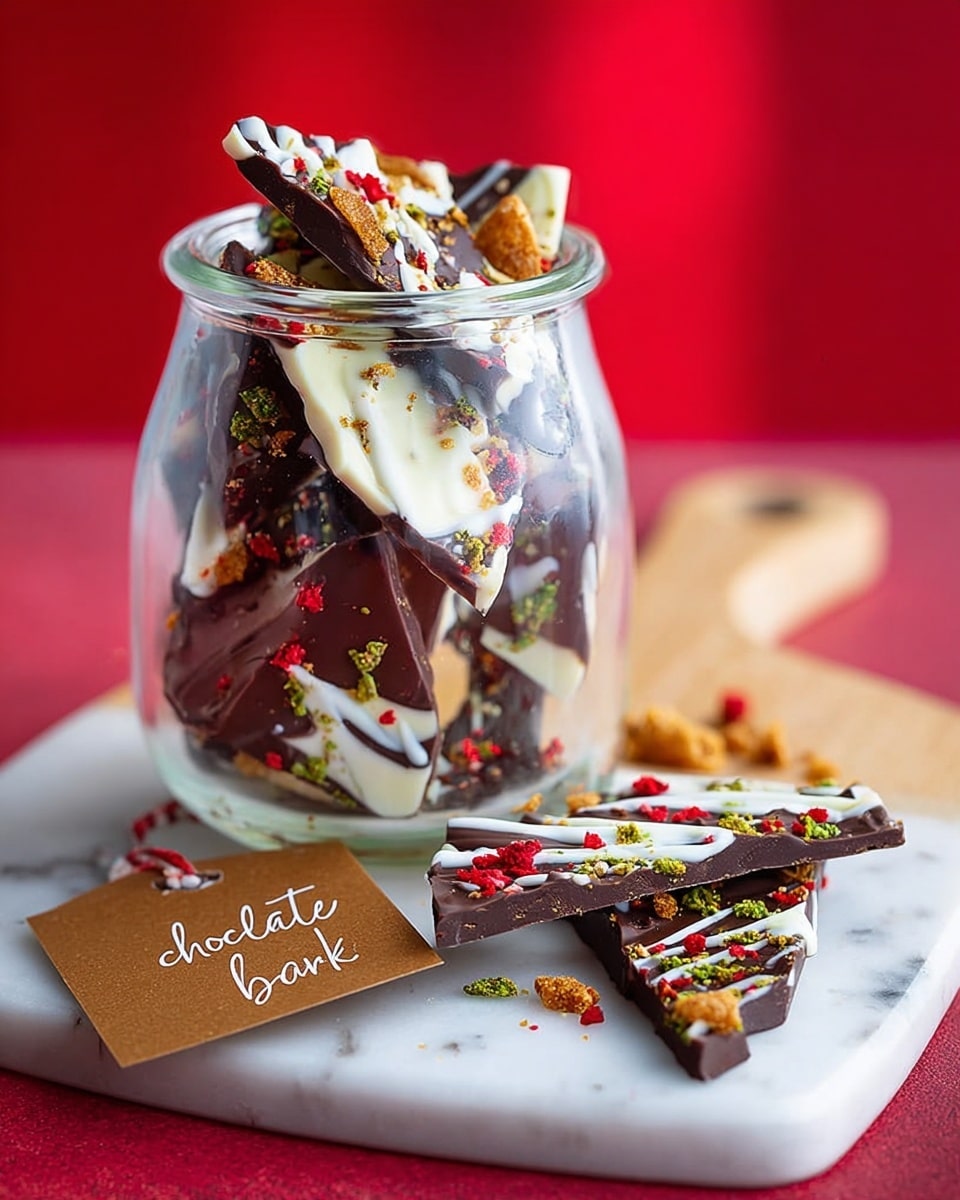
Chocolate bark is a simple and delightful treat that combines smooth melted chocolate with crunchy toppings. This easy homemade chocolate bark recipe lets you customize with your favorite biscuits, nuts, and sweets for a tasty and visually appealing snack.

Ingredients
- 400g milk or dark chocolate, broken into pieces
- 100g white chocolate, broken into pieces
- 75g biscuits of your choice, broken into pieces
- 2 tbsp sprinkles, chopped nuts or sweets
Instructions
- Step 1: Melt the milk or dark chocolate in a large heatproof bowl set over a pan of simmering water. Remove from the heat and melt the white chocolate the same way. Alternatively, melt the chocolates in the microwave in short bursts, stirring between each burst.
- Step 2: Line a baking tray or sheet with baking parchment. Use a larger baking sheet for thinner shards or a smaller tray for chunkier pieces.
- Step 3: Pour the melted milk or dark chocolate onto the prepared tray and tilt it side to side to spread the chocolate evenly to your desired thickness and shape.
- Step 4: Spoon teaspoonfuls of the white chocolate over the milk or dark chocolate, reserving a little. Use a knife or skewer to gently swirl the white chocolate through the darker base to create a marbled effect.
- Step 5: Scatter the broken biscuit pieces evenly over the chocolate. Then, drizzle the remaining white chocolate in a spiral pattern on top.
- Step 6: Sprinkle over the sprinkles, chopped nuts, or sweets and leave the chocolate bark in a cool place to set completely.
- Step 7: Once set, break or cut the bark into pieces and wrap for storage or gifting.
Tips & Variations
- Use your favorite chocolate varieties or mix milk and dark chocolate for a richer flavor.
- Try adding dried fruits, crushed candy canes, or sea salt for extra texture and taste.
- To speed up setting, place the bark in the refrigerator for 20–30 minutes, but avoid leaving it too long to prevent condensation.
Storage
Store the chocolate bark in an airtight container at room temperature in a cool, dry place for up to two weeks. If you live in a warm climate, store it in the refrigerator and bring to room temperature before serving to avoid condensation. The bark tastes best fresh but keeps well when properly stored.
How to Serve
Serve this delicious recipe with your favorite sides.
FAQs
Can I use white chocolate as the base instead of milk or dark chocolate?
Yes, you can use white chocolate as the base if you prefer, but keep in mind it will be sweeter and less intense than milk or dark chocolate.
How do I prevent the chocolate from seizing while melting?
Make sure no water comes into contact with the chocolate while melting and stir continuously. Melting slowly over simmering water or short microwave bursts helps prevent seizing.
Print
Easy Homemade Chocolate Bark Recipe
- Total Time: 20 minutes plus chilling time
- Yield: Approximately 12–16 servings 1x
Description
This easy homemade chocolate bark recipe combines rich melted milk or dark chocolate with swirls of white chocolate and crunchy biscuits, nuts, and sprinkles. It’s a simple no-bake treat perfect for gifting or enjoying as a sweet snack, offering a delightful mix of textures and flavors.
Ingredients
Chocolate
- 400g milk or dark chocolate, broken into pieces
- 100g white chocolate, broken into pieces
Add-ins
- 75g biscuits, of your choice, broken into pieces
- 2 tbsp sprinkles, chopped nuts or sweets
Instructions
- Melt the Milk or Dark Chocolate: Place the milk or dark chocolate pieces in a large heatproof bowl set over a pan of simmering water. Stir gently until the chocolate has melted completely and is smooth. Alternatively, melt in the microwave in short bursts, stirring between each until fully melted.
- Melt the White Chocolate: Remove the bowl from the heat and either melt the white chocolate in the same bowl over the simmering water or in the microwave in short bursts, stirring until smooth.
- Prepare the Tray: Line a baking tray or sheet with baking parchment. For thinner shards of bark, use a baking sheet; for chunkier pieces, choose a smaller tray.
- Spread the Base Chocolate: Pour the melted milk or dark chocolate onto the prepared tray. Tilt the tray side to side gently to spread the chocolate evenly to your preferred thickness and shape.
- Swirl the White Chocolate: Spoon teaspoonfuls of the melted white chocolate over the milk or dark chocolate base, reserving a little for drizzling. Use the tip of a knife or a skewer to swirl the white chocolate through the darker chocolate, creating a marbled effect.
- Add Toppings: Scatter the broken biscuit pieces evenly over the chocolate surface. Drizzle the remaining white chocolate in a spiral pattern over the top, then scatter the sprinkles, chopped nuts, or sweets to decorate.
- Set the Bark: Place the tray in a cool place, such as a refrigerator or a cool room, and allow the chocolate bark to set fully until firm.
- Serve or Store: Once set, cut or break the chocolate bark into pieces. Wrap in airtight containers or gift wrap as desired, and store in a cool, dry place.
Notes
- Use good-quality chocolate for the best flavor and texture.
- You can customize the toppings with your favorite nuts, dried fruits, or candy pieces.
- Ensure the tray is level when setting to avoid uneven thickness.
- Store the finished bark in an airtight container to prevent moisture absorption.
- If the chocolate softens too much at room temperature, refrigerate before serving.
- Prep Time: 10 minutes
- Cook Time: 10 minutes
- Category: Dessert
- Method: No-Cook
- Cuisine: International
Keywords: chocolate bark, homemade chocolate, easy dessert, no-bake chocolates, chocolate treats

